by Phil Reeder
1/350 Z-39 Type 1936 A (Mob) (Dragon)
Known in the Kriegsmarine as the 1936 A (MOB) Type, but called by the Allies the Narvik class, these were very large vessels , with a main armament of 15cms (5.9) guns Weighing in at 3000 tons plus ,they were virtually double the tonnage of contemporary RN destroyers. However, they were poor sea-boats, and were prone to mechanical breakdown due to being equipped with very high pressure boilers.
Z-39 was completed in Aug. 1943, and took part in mine-laying operations in the Gulf of Finland, and at the closing stages of the war, covered the German forces retreating along the Baltic coast. At the wars end, she was captured by US forces and taken into USN service as the DD-939, where she remained until 1951, when she was transferred to the French Navy, to provide spares for the ex-German destroyers, then in French service. In 1962 she was scrapped.
If you have previously bought one of these "smart" kits you will know what to expect, but if this is your first one, you are in for a challenging build. On opening the stout box, you find fifteen sprues ,crisply moulded in a good quality medium grey plastic There are two small sprues for six crew figures, (what a pity Dragon don`t include more figures). Three photo-etch frets are included ,but these don`t have deck-railings, which means you have to provide your own. Also, a small decal sheet, and a paper flag sheet completes the kit.
The weakest part of the kit to my mind is the rather jumbled instruction sheet, I think Dragon need to look at these as matter of urgency, they may be adequate for the experienced builder, but the novice builder may find some difficultly with them.
After the furore concerning the length of Dragons earlier Scharnhorst kit, I decided to check-out the dimensions of this kits hull. After consulting my references, and using my trusty calculator, I found that all measurements were absolutely spot-on in length and beam.
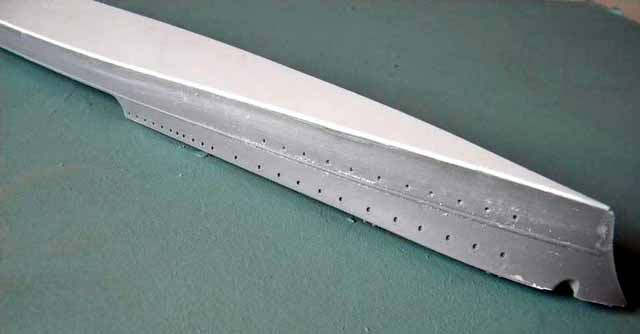
As with all Smart kits, you do get a choice of waterline or full-hull, my preference these days is to build waterline, which I intend to do, using my well-tried method
The references I used are Model Boats magazine Nov., and Dec. 2009, which had a series of photos of the Z-39 taken while in USN service. There was supposed to be a third installment, which for some reason didn`t appear. Warship magazine Volume 1 also had a series of articles on the Narviks
I intend to do this as an OOB build, the only extras I`ll be adding are the missing deck-railings. As I`m doing a waterline-model , I`ll be using my usual method of making a seascapes. See this link for more details: http://www.britmodeller.com/forums/index.php?showtopic=39041
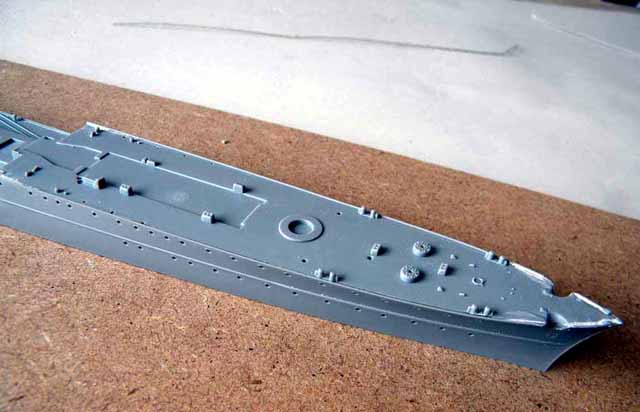
The first job is to attach the main deck to the upper hull. This turned out to be an almost perfect fit, requiring only a small amount of filler. I next painted the hull, and I used the following Vallejo paints:
RAL 7001 = Vallejo ~ 70990 Lt Grey
RAL 7024 = 70994 Dark Grey
Humbrol acrylic grey primer
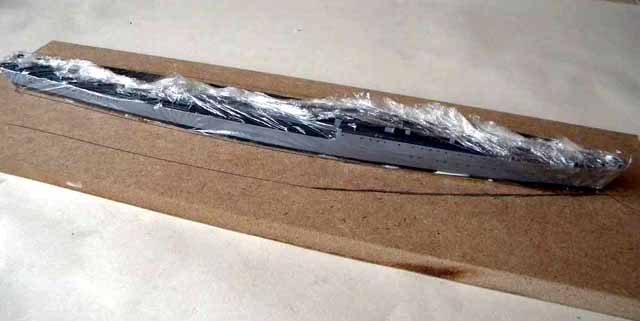
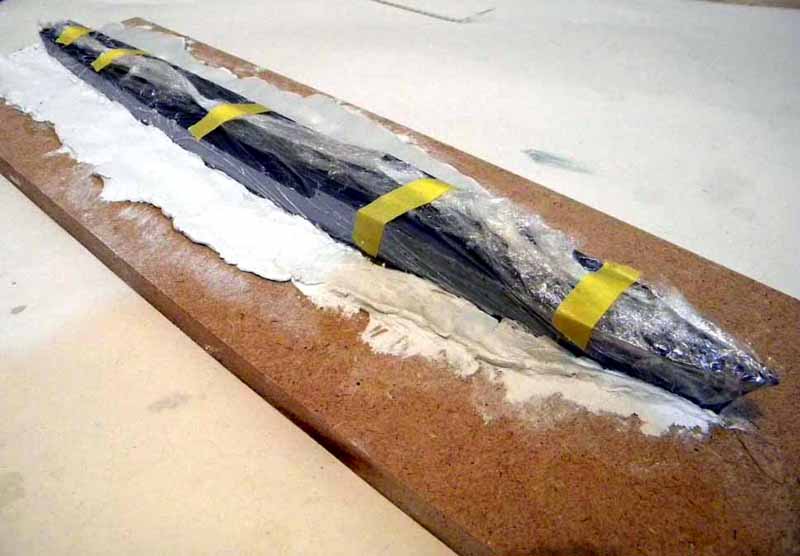
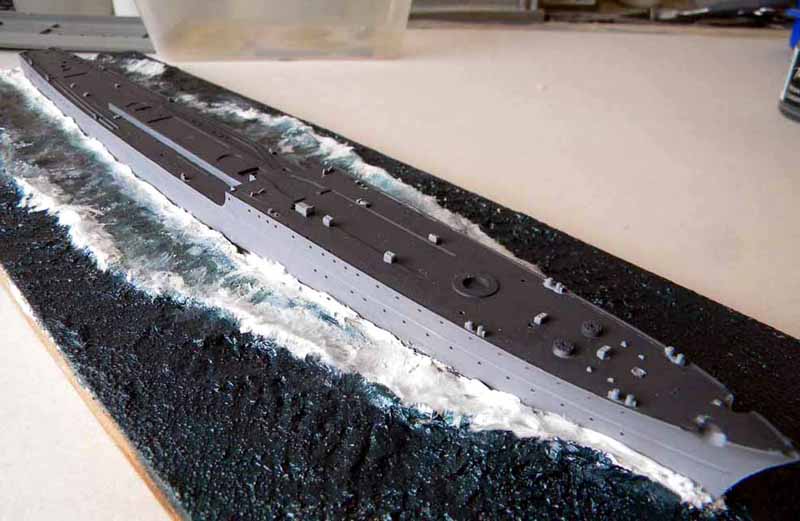
When all the paintwork has been done, I glued the hull to the base, after first cocooning it in cling-film. Then I set to with the DAS modelling clay and Filler to make the sea. After this has been completed, and painted to my satisfaction, I removed the cling-film.
I do not intend to give a blow-by-blow account of the building process, I will let the photos do the talking. I will point out any pitfalls, or shortcomings I encounter during construction. The first thing I noticed is, that Dragon have seen fit to make some of the smaller fittings out of two or three pieces, requiring you to be very careful when you detach them from the sprue, as most are very tiny and given the opportunity seem to fly off into the distance, never to be seen again, which is very annoying.
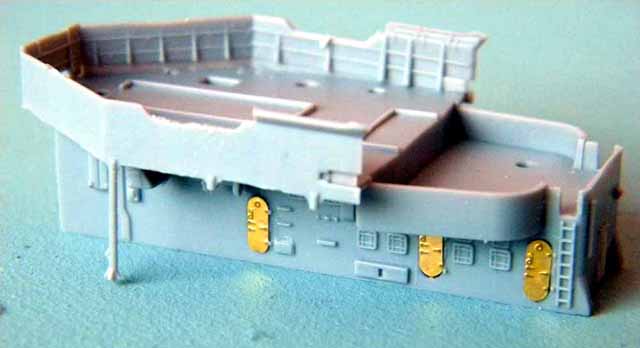
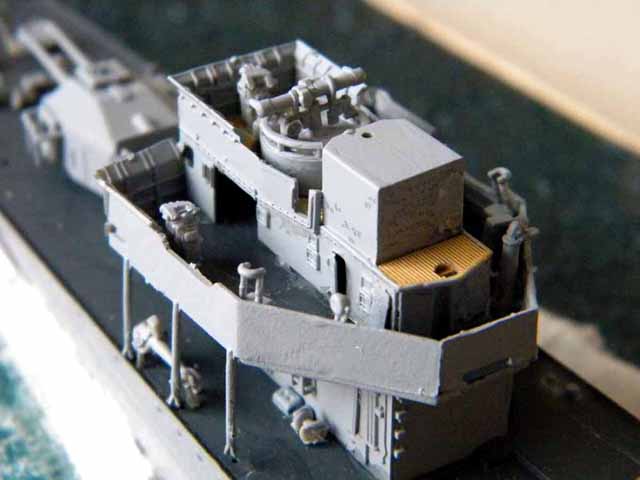
Once the deck details are all painted and finish, I`ve moved on to the superstructure. The bridge area is the first to assembled ,and a timely word of warning here, parts C-16 an C-17 (the lower bridge sides), are very delicate and great care must exercised in removing them from the sprue. I managed to break off two of the six supporting struts, hopefully I can repair the damage later on. The insides of the screens are fully detailed, unlike the Trumpeter kit of the Z-25 which was completely devoid of detail.
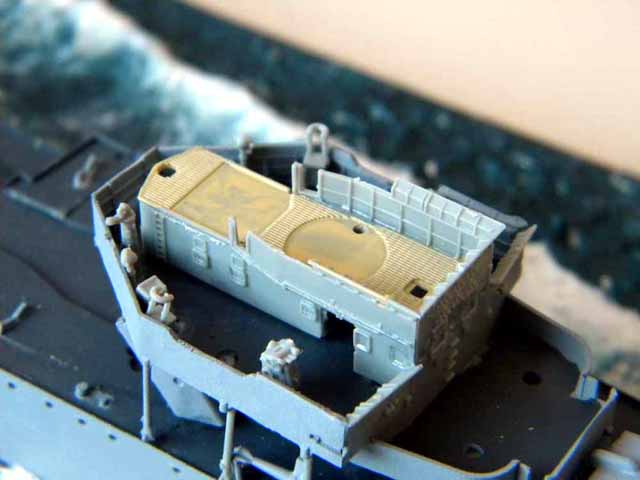
Another heads-up concerning part C-33, the upper bridge deck, the front half was easily bent out of shape and it nearly broke off, mainly because of clumsiness on my part as I was fitting the bridge sides(E7 & E6).This deck was natural wood, I `ve painted it Vallejo 70847 dark sand ,followed with a very thin wash of dark earth to enhance the planking detail.
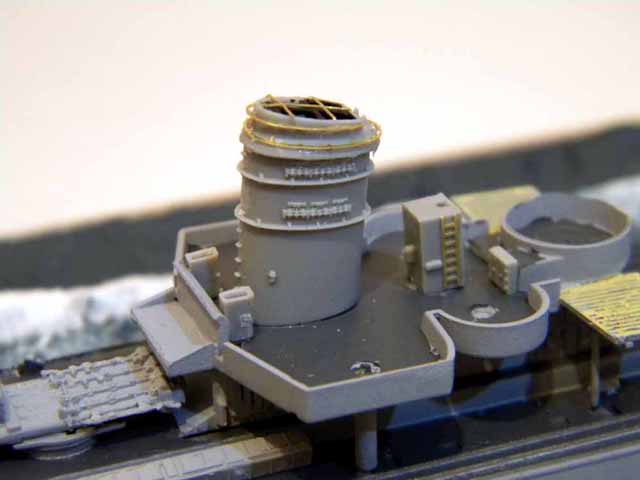
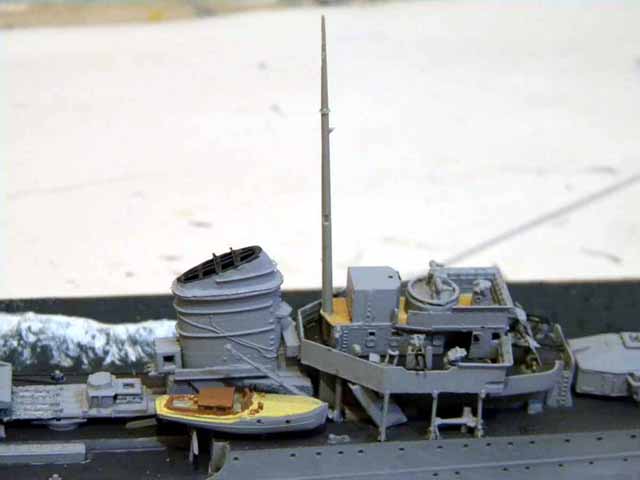
The forward funnel consists of no less than 18 plastic parts, and 16 PE pieces. It is a really complicated build and requires careful study of the instruction sheet .Apart from a small drawing in section 14,no where in the instructions does it show what the completed funnel looks like, which is a bit of a hindrance.
The Torpedo tubes in the kit are best I`ve ever seen in any kit, they have all superbly moulded with all the external plumbing details, and the tubes are moulded with hollow openings.
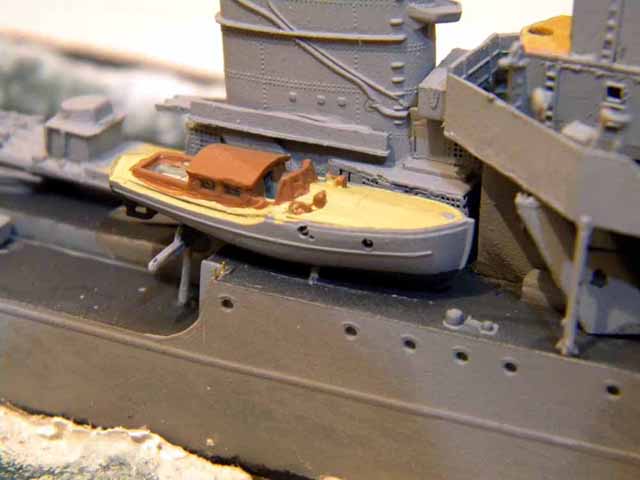
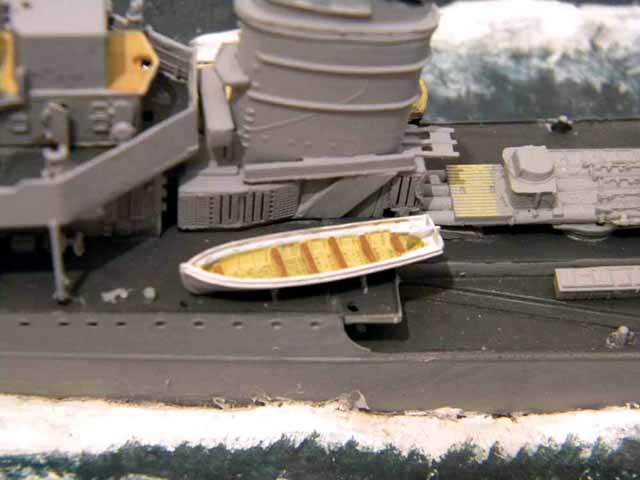
The kit includes four ships boats, two motor launches and two whaler type open boats, although, only one of each is needed, the other pair can swell your spares locker. .They are little gems. The motor - launch is in three pieces, hull, deck and cabin roof. When it has be painted and finished, the cabin windows can be simulated by using Microscale Kristal-kleer, which looks very convincing.
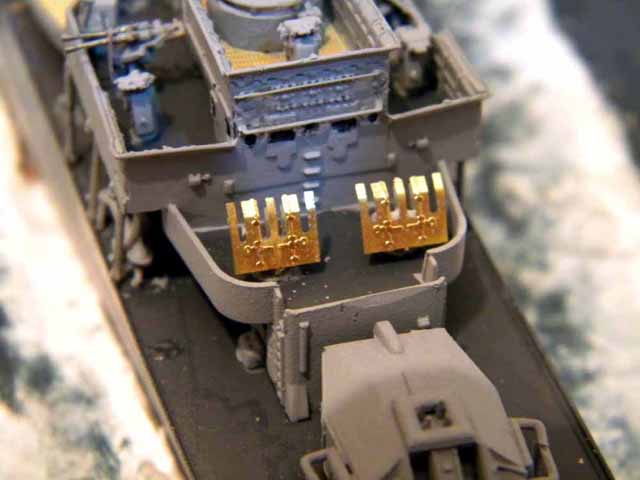
Now that most of the main superstructure has been made, I am making a start on the light flak guns. According to the instructions (section 1C), part H-5 is the base for the semi-automatic 3.7 cms guns, however it should be H-7. I cannot understand why Dragon has chosen to do all the light AA barrels separately, even those for the quad Vierling mounts. This makes them very difficult to line up properly on the mountings.
Part E-12, the foremost quad 2cms platform, for some reason the location hole has been filled in (on my kit anyway), so you will need to drill a new hole of the correct size to take the mounting.
There are no problems with the main 15cm armament parts, the barrels look like gun barrels, perfectly rounded and tapered. The shape of the forward twin turret appears to be absolutely spot-on, as do the two aft single mounts.
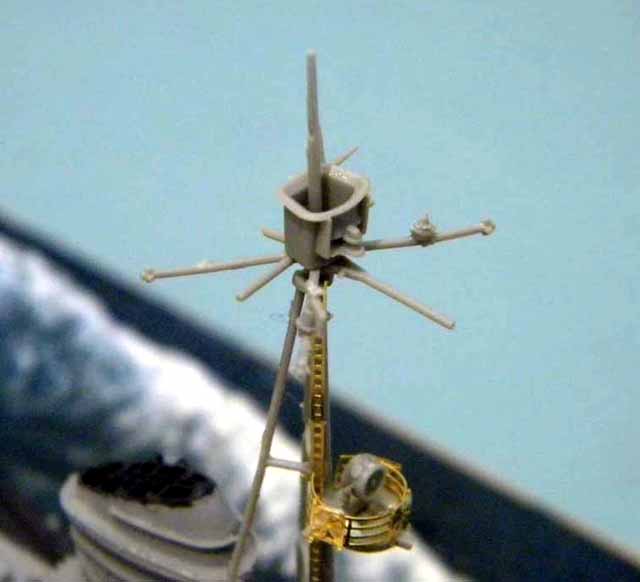
I dont know what other modellers think, but to me a ship-model doesn`t come alive until the masts are fitted. As with many other pieces in this kit, great care must be used in removing the mast parts from sprue D. The actual assembly of the foremast, although complicated, was easier than I first thought, with all parts fitting together well, making the finished mast look convincing.
At this point I thought there was something missing from the foc`sle. There was, it was the breakwater part B-4. Nowhere in the instructions does it mention that part nor parts B-7 & 8 the prop guards, although it does show them on the drawing.
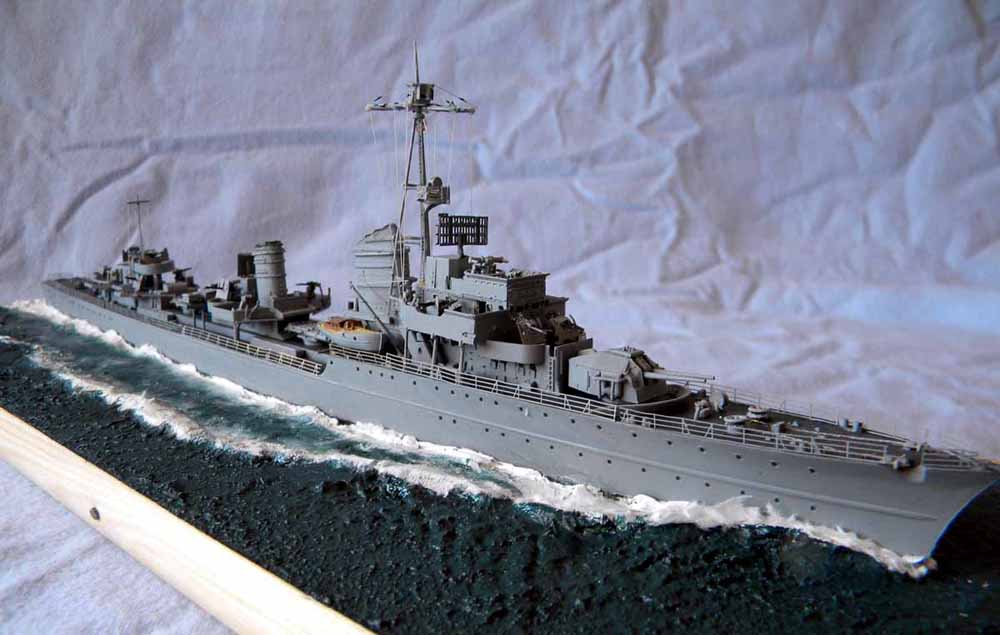
I`m approaching the final stages now, the PE Radar aerials have been made, these presented no problems, and certainly looked the part. I`m using some WEM deckrailing left over from a previous build. I used my favoured method for the rigging, stretched-sprue.
What is my overall assessment of this kit? Superb, it fits together like a dream, and has all the crisp detail you would expect from a smart kit. However there are certain reservations, firstly they must do something about their instructions, as I pointed out that several errors and omissions were discovered during the build which should have been rectified by Dragon. Also in trying to be the best Dragon have over done the minute details, particularly with the light flak guns. In my view this level of detail does not enhance the model, as much of it cannot be seen when the model is finished. Otherwise it was an enjoyable build, and I am pleased with the resulting model.
 |
 |
 |
 |
 |
 |
 |
 |
 |
 |
 |
 |
 |
 |
 |
