In Progress
by Sean Hert
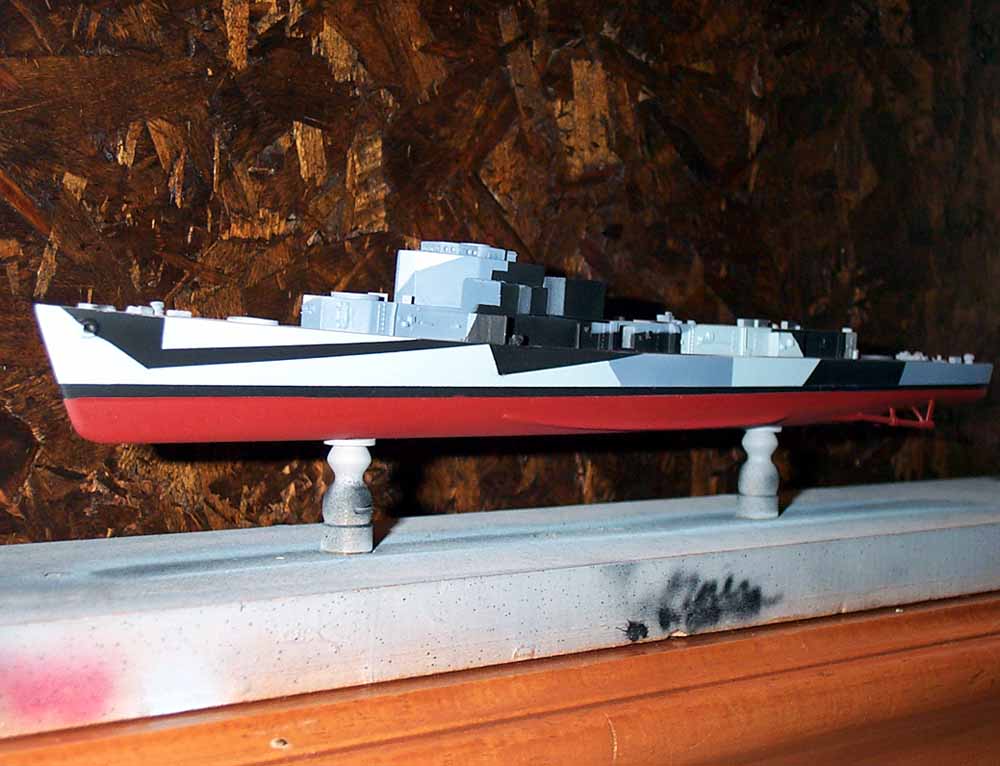
1/350 USS Shea DM-30 (Yankee Modelworks)
Finally, I get something in the gallery! This is the Yankee Modelworks USS Shea kit, previously reviewed here- that I am building. I have previously built 4 of YKM's Gearings, so this modified Sumner isn't too much of a stretch. My only issue with this kit is the instructions. The cover page refers to the minelayer conversion, but the rest of the instructions are just normal Sumner ones. I have relied heavily on Warships Perspectives: Fletcher, Gearing and Sumner Class Destroyers, Squadron Signal Publications US Destroyers in Action, Part 4, as well as the ubiquitous Google Image searches and Navsource.
I've not really done much with the kit yet; mainly I've just attached the bridge and shafts. The shafts are brass rod, because I invariably destroy the white metal ones, so I don't even try to use them anymore. I drilled and tapped holes for the lamp shade risers I like to use as pedastels. And, obviously, I've started masking and spraying paint. You can see my "duty" risers, covered in multiple coats of paint and primer. I use these on each ship, and swap out pristine ones when mouned on the final board.
USS Shea is being modeled in Measure 31/25d, using Model Master Acryl Marine Colors.
Shea is mounted on my standard building board, which has a series of 5/16" holes down the center for mounting various ship projects. The normal lamp shade riser has a 1/4-27 threaded hole in the base, and stud on top. 5/16" holes give me some wiggle room for mounting the risers on the ships.
The third pic down is the start of the sonar dome. I just take a piece of resin "sprue" from the kit, stick some brass rod in it and sand to shape. This is after the brass, but before the sanding.
Next I'll finish the sonar and get it mounted. Then clean up my paint job, get the decks painted and start mounting the stacks, twin 5" mounts and stuff. I'll try to remember to take some pictures as I work along.
