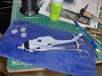
| Now its time for a little brush painting. |
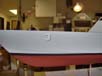 |
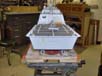
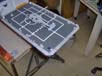
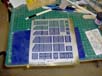
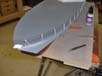
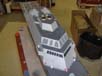
| You can see the grills that have been attached to the model prior to
painting. |
 |
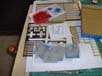
| This photo shows the grills after they are painted dark grey. |
 |
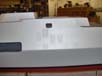
| The next sheet of PE grills are painted the same color
as the model and then glued over the dark grey grills already in place. |
 |
 |
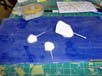
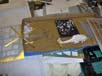
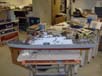
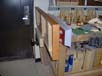
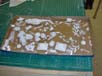
| Most of the small pieces are cast resin. Over the years Ive been able
to build up a pretty nice mold library in 1/96 scale. The resin pieces
for the model are drying after having the mold release cleaned off. |
 |
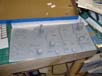
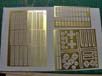
| Some of the photo-etched brass can be seen prior to paint. |
 |
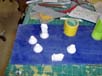
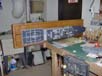
| The resin parts get worked on so they can get painted and
be ready for installation.
|
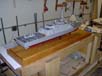
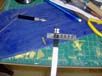
| The water jets are in place. |
 |
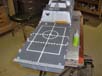
| Dressing up the model with the small details starts at
the bow and works back to the stern. Holes are drilled into the deck for
the lifeline stanchions. The stanchions are placed in the holes and glued
in with a touch of CA. Holes are drilled into the deckhouse where each
line is glued in place. The lines are then run through the stanchions and
glued. Hemostats are used to keep tension on the lines. As the lifelines
are installed the other parts in the same area are put in place. |
 |
 |
 |
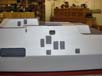
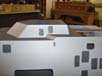
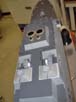
| You can see the stanchion holes and the parts that have been installed
in the openings on the top of the deckhouse. |
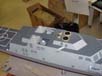 |
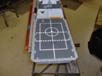
| The stanchions are put in and the lines are run. |
 |
| This photo shows how the lines look during installation. |
 |
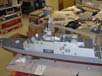
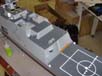
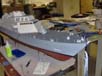
| This is what it looks like all trimmed up. The lines are all strait
runs; none are wrapped around a corner. |
 |
| This is what it looks like with some more parts glued on. |
 |
| The four searchlights have been painted. The lenses are black vinyl
discs that were made with a punch set. |
 |
| The next four photos show the next bit of progress.
|
| More light lenses being made with the punch set. |
 |
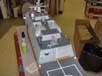
| The detail parts being installed on the flight deck.
|
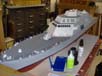
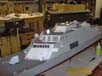
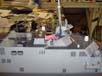
| The model complete with just the flag to make and
install.
|
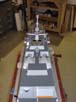
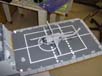
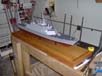
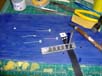
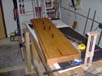
| The model is moved to the base that will be its permanent display base.
The photo on the right shows the base and the stanchions. The base is the
first thing made in the entire project and it gets a coat of finish every
couple of days until I get four coats of finish on it. This way there is
plenty of drying time while I build the model. |
 |
| The model is placed on the new base with the stanchions.
Fender washers and self-locking nuts are put under the base to hold everything
together. The all thread is then trimmed so that there are two threads
showing passed the nuts.
|
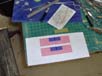
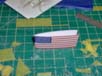
| The following photos are not the best but you still get
an idea of what Im explaining. The flag is printed on lightweight paper
and cut out. |
 |
 |
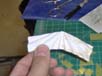
| The flag is folded in half. |
 |
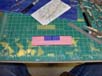
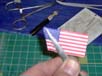
| Tweezers are used to put folds in the flag as if it were
flying in the wind. |
 |
 |
| The flag is opened up and glue is put on the inside. |
 |
 |
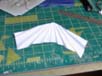
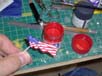
| The flag is then closed up and pressed together so the glue grabs. |
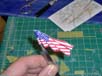 |
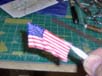
| The edges are painted so there is no white showing where there should
be red or blue. |
 |
| The flag as it appears on the model. |
 |