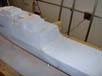
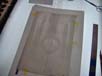
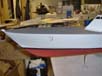
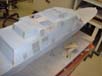
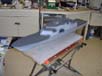
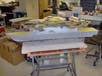
| A coat of automotive spot filler primer is given to the entire model.
All of the surface defects will stand out and the entire model will be
sanded down until almost all of the primer is gone. |
 |
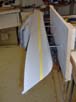
| The bulkheads for the life rafts, bridge wings and
fashion plates are next.
|
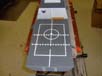
| Lines for the stern boat doors and the access hatch are
cut with a little gadget I made that goes on a Dremel flex shaft. The cutting
tool is a .020 end mill. The gadget follows the edge of a template. |
 |
 |
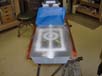
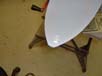
| The bow chock is a resin casting. The point of the bow
is sanded flat and the chock is glued on. |
 |
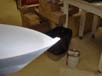 |
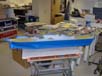
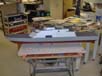
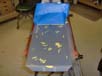
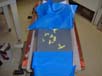
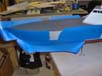
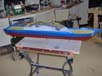
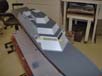
| The rest of the surface detail that I want on the model
before it is painted goes on now. |
 |
 |
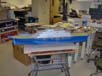
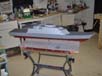
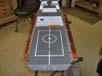
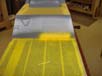
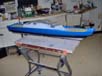
| All of the grey that you see up to this point is primer. The first
thing that gets paint is the deck. |
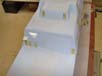
 |
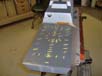
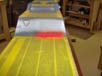
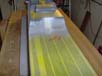
| The decks are painted and then masked with Tamiya tape
and the yellow for the warning marks on the hangar door are painted next. |
 |
 |
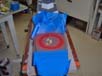
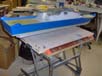
| Tape is applied and the red is painted on. |
 |
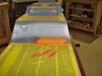 |
| The warning marks are masked over and the grey for the hull is painted. |
 |
| The hull grey goes up the deckhouse a little. The white for the helo
marking is painted on the aft bulkhead and covered with a strip of tape. |
 |
| The top of the boot topping is drawn on the hull. |
 |
| Tape is used to define the edge of the topping and wide
tape is used to protect the rest of the hull. |
 |
 |
| The black is painted and the line is drawn for the top
of the hull red. |
 |
 |
| Tape is applied to cover the black and the red is painted
on. |
 |
 |
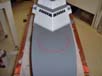
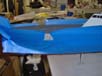
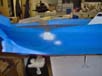
| The tape is removed from the sides to reveal what the bottom of the
hull looks like. |
 |
| Tape is applied to the hull sides so the deckhouse can
be painted. On the real ship the deckhouse is unpainted aluminum. Silver
paint right out of the jar just does not look right, so I mix in a little
grey and a little white. That seems to scale down the metallic look well
enough. The aluminum paint is applied and all of the masking to this point
is removed.
|
| I use black vinyl for the windows on all of my scratch builds.
A strip is cut the height of the windows and the spaces between them are
cut out. Tape is used to lift the vinyl from its backing and put in place
on the model. |
 |
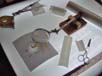
| The rest of the markings are painted on. I start with all
of the markings printed in black on the lightest paper I can get. Frisket
film is taped to the paper that has the marking I want. A light box is
used to cut the film. The film is then positioned on the model and painted.
The following photos show most of the steps. The photos were taken in sequence
but they seem to jump around. That is because I would paint one thing and
as it dries I would cut another film and paint it on a different part of
the model and then go back the something that has already dried.
|